在浏览器中访问arch linux(noVNC)
安装noVNC
之前实践过 在浏览器中访问Kali(noVNC) ,而在arch linux中安装稍微有点区别: 官方仓库没有提供 noVNC ,需要 Arch Linux AUR 方式安装,也就是先安装 yay :
编译安装yay
pacman -S --needed git base-devel
git clone https://aur.archlinux.org/yay.git
cd yay
makepkg -si
然后通过 yay 安装 noVNC:
安装noVNC
# 安装noVNC
yay -S novnc

# 如果要删除,则执行
# yay -Rns novnc

# 配合安装x11vnc等工具
# xorg-server-xvfb 获得 Xvfb
# xorg-xauth 获得 xauth
sudo pacman -S x11vnc xorg-server-xvfb xorg-xauth
备注
实际使用请参考 在浏览器中访问Kali(noVNC) ,不过需要注意 x11vnc 运行需要主机已经启动了X桌面。
使用
服务器端需要先运行一个VNC服务器( x11vnc ),进而能够通过 noVNC 实现浏览器访问。以下为详细步骤
安装和启动vncserver:
在 Arch Linux 上启动 X11vnc 服务
# 最简单的VNC headless,监听在127.0.0.1:5900
# 但是这样没有密码保护,所以x11vnc会有提示如何创建和使用密码
# 请按照提示修改运行命令
# - create 参数是为了创建一个桌面而不是默认连接到一个现有桌面
# x11vnc -create -listen 127.0.0.1

# 创建密码
# x11vnc -storepasswd password /path/to/passfile
# x11vnc -storepasswd /path/to/passfile
# x11vnc -storepasswd (密码存储在 ~/.vnc/passwd)
x11vnc -storepasswd
# x11vnc -usepw 会自动使用 ~/.vnc/passwd 或 ~/.vnc/passwdfile 密码文件
x11vnc -create -usepw -listen 127.0.0.1
启动noVNC:
在 Arch Linux 上启动noVNC
novnc --listen localhost:8081 --vnc localhost:5900
提示如下:
在 Arch Linux 上启动noVNC的输出提示,注意访问URL提示
Warning: could not find self.pem
Using installed websockify at /usr/bin/websockify
Starting webserver and WebSockets proxy on host localhost port 8081
/usr/lib/python3.12/site-packages/websockify/websocket.py:31: UserWarning: no 'numpy' module, HyBi protocol will be slower
  warnings.warn("no 'numpy' module, HyBi protocol will be slower")
WebSocket server settings:
  - Listen on localhost:8081
  - Web server. Web root: /usr/share/webapps/novnc
  - No SSL/TLS support (no cert file)
  - proxying from localhost:8081 to localhost:5900


Navigate to this URL:

    http://localhost:8081/vnc.html?host=localhost&port=8081

Press Ctrl-C to exit
根据提示,访问 http://localhost:8081/vnc.html?host=localhost&port=8081
备注
这里服务器端的noVNC监听的是回环地址上的 8081 端口,所以外部不能直接访问,需要通过 SSH隧道 构建一个端口转发才能在客户端访问
此时就会看到noVNC访问界面:
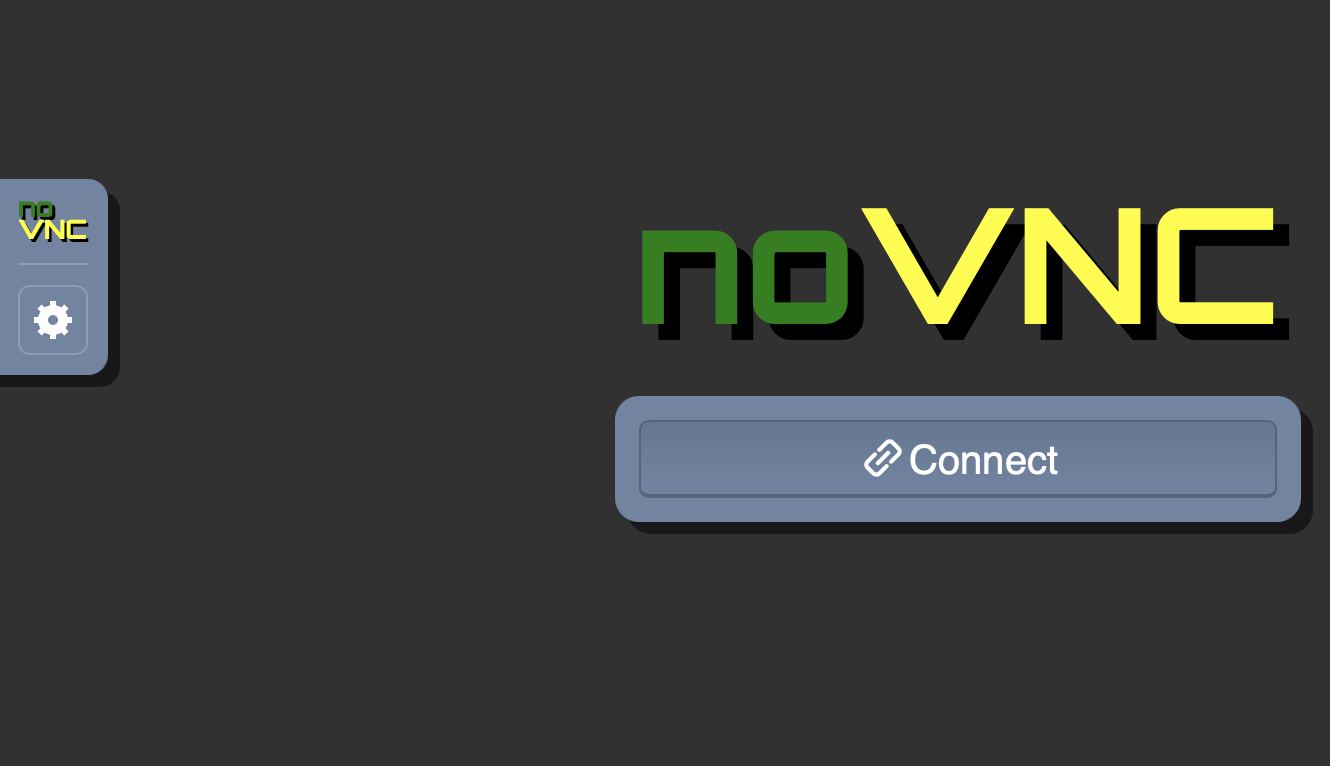
noVNC初始访问界面,点击 Connect 按钮就连接服务器上的 X11vnc 桌面
点击 Connect 按钮连接服务器上 X11vnc 桌面,此时会提示输入密码,这个密码就是之前在 启动vncserver 前通过 x11vnc -storepasswd 创建的:
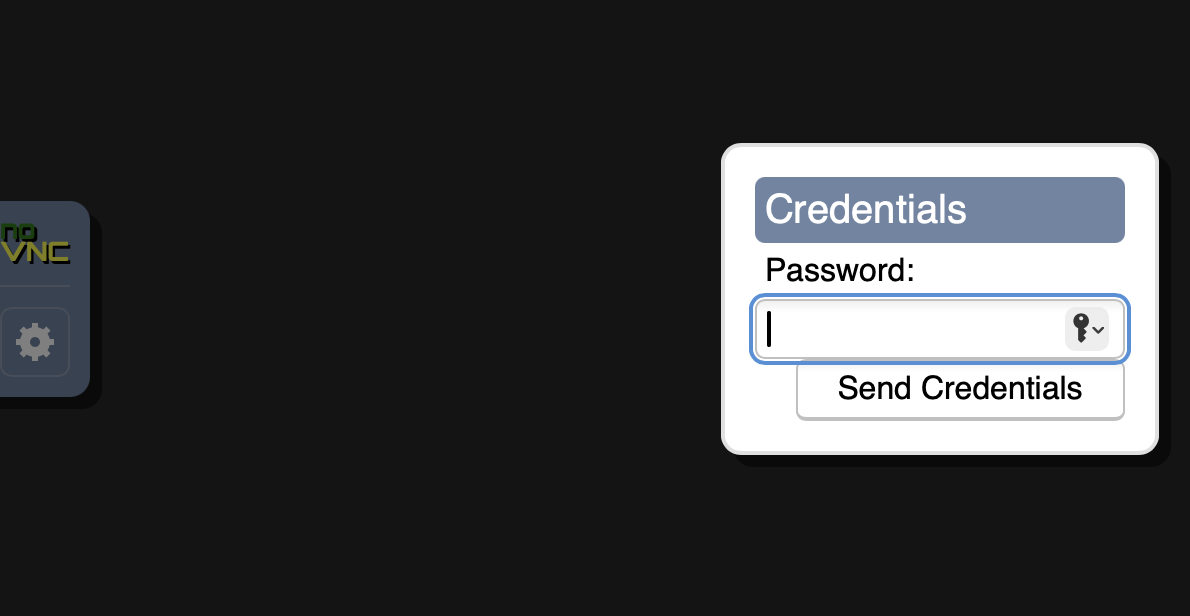
点击 Connect 按钮就连接服务器上的 X11vnc 桌面,输入之前 x11vnc -storepasswd 创建的密码
一切正常的话,就能看到一个非常简陋的桌面,显示出一个 xterm 的终端,这就是服务器上的桌面终端,可以在此基础上运行服务器端的图形程序